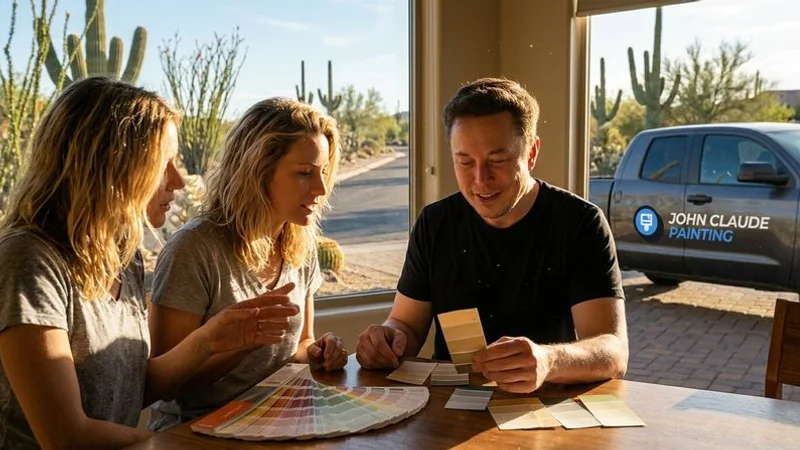
DIY or Hire a Pro? An Honest Look at Painting Kitchen Cabinets Yourself
Painting your own kitchen cabinets is one of the most tempting home DIY projects on YouTube. The before-and-afters look incredible, the supply list seems modest, and the potential savings against a professional quote are huge.
We are not here to tell you never to try it. Plenty of Melbourne homeowners have done a decent job in their own kitchens. What we do want to offer is an honest breakdown of what the project actually involves, what the quiet costs are, and the specific scenarios where each path makes sense.
What a Real DIY Cabinet Job Requires
The Tools You Actually Need
The hardware-store “cabinet refresh kit” is not enough. For a result that survives the daily thrashing a family kitchen gets, you need:
- Degreaser. Sugar soap or an industrial cleaner like Selleys Rapid Cabinet Cleaner. Cooking oil contamination is the number one reason DIY finishes peel.
- Sanding kit. A random orbital sander with a dust extractor and 120, 180 and 240 grit discs. Plan for more discs than you think.
- Bonding primer. Zinsser BIN (shellac-based) to block tannins in old timber, or a quality waterborne bonding primer for pre-painted MDF.
- Grain filler. If you have oak or ash cabinets, you will need a grain-filling product to avoid a pitted final finish.
- Spray setup. A quality airless or HVLP sprayer. Brush and roller marks will be visible on every door under kitchen downlights.
- Mask and ventilation gear. Even with waterborne products, this is not a job for an open kitchen and takeaway containers.
Realistic Time Commitment
Online tutorials love to show “a weekend project”. In the real world, a 20-door Melbourne kitchen will cost you 50 to 80 hours of active labour, typically spread across three or four weekends.
The kitchen will also be largely out of action for roughly ten days while the doors cure properly. Trying to rush the final re-hang within 24 hours of the last topcoat is how people end up with doors that stick to the frames and tear off their own finish.
Where DIY Usually Goes Wrong
After twenty years on the tools, Paul has seen every imaginable cabinet mishap walk into a rescue quote. The usual culprits:
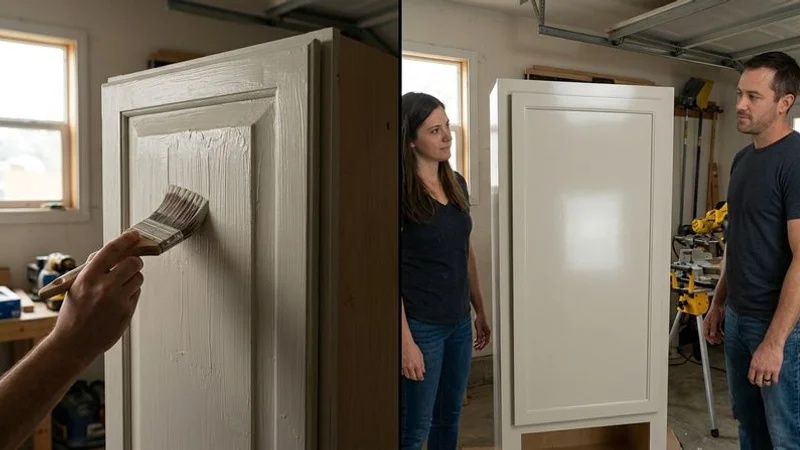
- Brush and roller texture. Cabinet paint is unforgiving. Every flaw shows under side light, and you cannot brush a flat surface smooth by hand.
- Grain ghosting. Open-grain timbers read as pitted even after two coats because the primer was not a grain-filling product.
- Flaking at the stiles. The hinge and drawer rail areas take the most abuse, and they peel first if the prep was rushed.
- Blocking. Reattaching doors before the finish has cured means the paint bonds to the frame, then tears free the first time a kid slams a drawer.
What a Professional Actually Does Differently
Professional cabinet painting is less about painting and more about workshop discipline. Here is what a proper Melbourne cabinet job looks like from our side of the table:
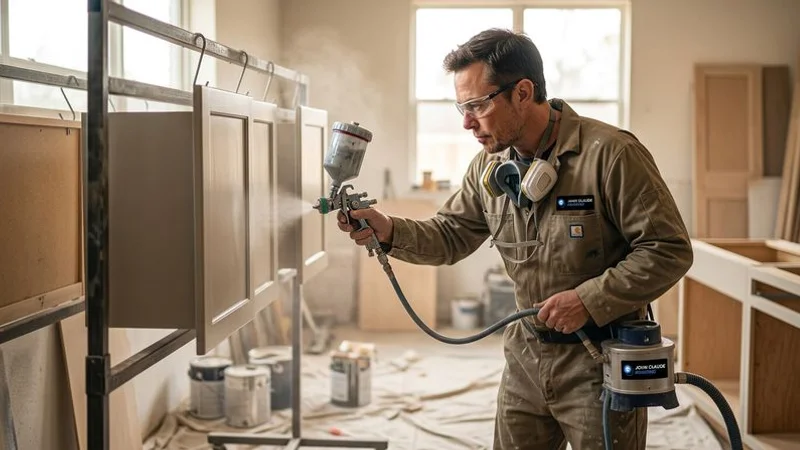
- Two-pack polyurethane or premium waterborne enamel. Sprayed under controlled conditions, these cure to a finish that resists knife scratches and cleans with a damp cloth.
- Doors sprayed off-site. Our workshop has dust extraction, a controlled drying environment, and racking that lets us spray every side of every door without flash marks.
- Detailed masking. Stone benchtops, appliances, floors and fixed joinery all get protected before a single can is opened.
- Grain filling for oak and ash. A high-build surface primer followed by careful sanding gets you that modern flat finish that looks like new joinery.
- Systematic labelling. Every door goes back on its original hinge with the original screws. This sounds trivial, but it is the difference between perfectly aligned doors and drawers that never sit flush again.
Realistic Professional Timeline
A professional job on a 20-door kitchen typically runs 5 to 7 working days:
- Day 1: Remove doors, drawer fronts and hardware. Label everything. Mask the permanent joinery. Degrease.
- Days 2 to 4: Workshop spray on doors (3 to 4 coats with sand between). On-site prep and spray of carcasses.
- Day 5: Cure and final inspection.
- Day 6 or 7: Rehang, adjust alignment, install new handles if requested.
The kitchen keeps its stove, sink and fridge throughout, so you can still cook every evening.
2026 Cost Comparison for a Typical Melbourne Kitchen
| Factor | DIY | Professional |
|---|---|---|
| Materials & Tools | $700 to $1,200 | Included |
| Your Labour | 60+ hours | 0 hours |
| Timeline | 3 to 5 weekends | 5 to 7 days |
| Finish Durability | 2 to 4 years (typical) | 10+ years (2-pack) |
| Resale Impact | Marginal | Strong |
| Cash Outlay | $700 to $1,200 | $4,500 to $9,000 |
The Quiet Cost of DIY
The spreadsheet only tells half the story. The real hidden costs are:
- Your weekends. 60 hours of your life that cannot be spent with the family.
- Opportunity risk. If you damage a door during sanding, matching a Laminex or vinyl-wrap profile ten years after install is often impossible.
- Do-over risk. Roughly one in four DIY kitchen jobs we get called out to inspect end up needing a full professional strip-and-respray within three years.
When DIY Is the Right Call
We genuinely think DIY makes sense if:
- Your kitchen is in a rental or holiday place where “good enough” is acceptable.
- You have a dust-free garage or shed to set up a proper drying rack.
- The cabinets are painted MDF rather than open-grain timber.
- You are happy with a hand-painted aesthetic rather than a factory-like finish.
- You enjoy the process and are not racing a deadline.
When to Book a Professional
Book the pros when:
- You plan to sell within two years and want the finish to photograph beautifully for the listing.
- Your kitchen is large, has complex crown mouldings, or a statement island.
- You have open-grain oak cabinets and want a modern flat finish.
- You need the job done inside a week, not a month.
- You want a warranty you can actually call on.
The Paul Painting Melbourne Cabinet Process
For context, here is how we run a professional cabinet job so you can compare it against whatever you are considering doing yourself:
- On-site inspection. We check the substrate, look for water damage, and make sure the boxes are worth refinishing before quoting.
- Systematic removal. Each door is mapped and labelled so it returns to its exact original hinge.
- Degrease and scuff sand. No corners cut here; this is where longevity is made or lost.
- Bonding primer. Applied in workshop with full dust extraction for a perfectly clean base.
- Multiple finish coats. Sanded between coats to produce a hand-feel like new joinery.
- Rehang and align. All doors returned to frames, soft-close hinges installed if requested, full clean-down.
If you would like an honest quote, or even just a candid chat about whether your kitchen is a good DIY candidate, contact Paul Painting Melbourne and we will take a look. Sometimes the right answer is to pick up a sprayer yourself, and sometimes it is to book a crew who does this every week.
Paul Painting Melbourne Team
Dulux Accredited Painting Contractor
Need Professional Painting Help?
Get a free, no-obligation estimate from our experienced team.
Get Free Estimate